HSC2011/Enclosure: Unterschied zwischen den Versionen
aus Metalab Wiki, dem offenen Zentrum für meta-disziplinäre Magier und technisch-kreative Enthusiasten.
Zur Navigation springenZur Suche springen (+ fotos) |
|||
| Zeile 1: | Zeile 1: | ||
<small>< [[HSC2011]]</small> | <small>< [[HSC2011]]</small> | ||
| − | |||
__TOC__ | __TOC__ | ||
| − | + | == Some screenshots from Blender == | |
{| | {| | ||
! width="450"| | ! width="450"| | ||
| Zeile 13: | Zeile 12: | ||
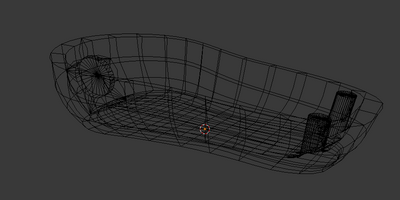
| valign="top"|[[Bild:eb_top.png|thumb|400px|left|The top of the EduBuzzer enclosure]] | | valign="top"|[[Bild:eb_top.png|thumb|400px|left|The top of the EduBuzzer enclosure]] | ||
| + | |- | ||
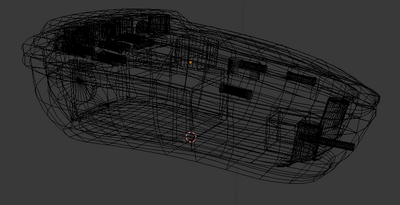
| + | | valign="top"|[[Bild:eb_complete_black.png|thumb|400px|left|The complete EduBuzzer enclosure]] | ||
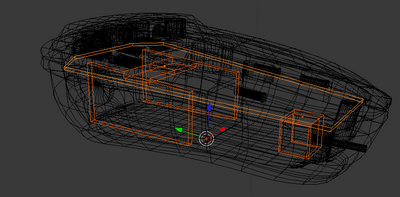
| + | | valign="top"|[[Bild:eb_complete.png|thumb|400px|left|Highlighted Battery holder, on/off switch holder and PCB]] | ||
| + | |||
| + | |} | ||
| + | |||
| + | |||
| + | == Photos of the final enclosure == | ||
| + | {| | ||
| + | ! width="450"| | ||
| + | ! width="450"| | ||
| + | |- | ||
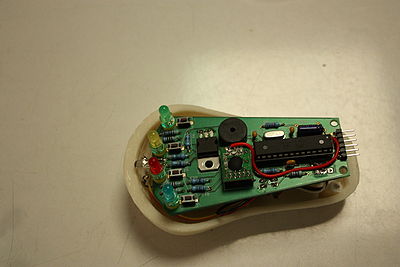
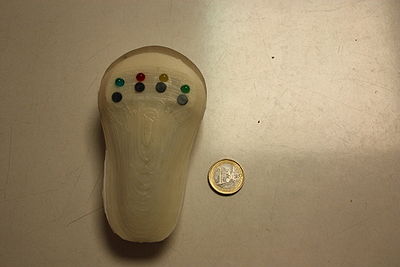
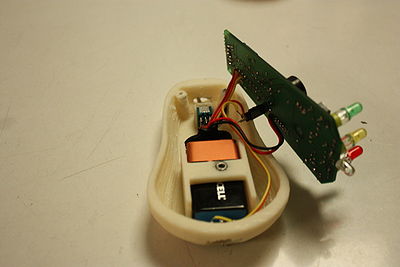
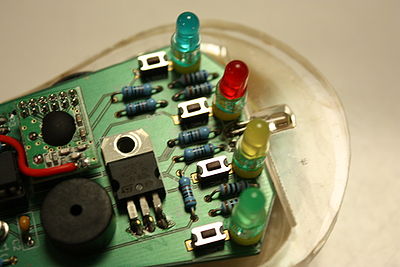
| + | | valign="top"|[[Bild:Enclosure_and_pcb.JPG|thumb|400px|left|The enclosure + PCB]] | ||
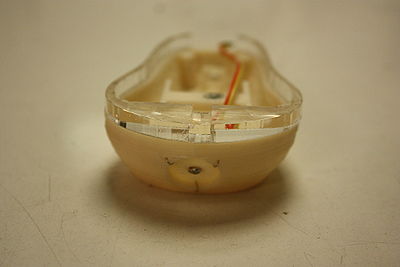
| + | | valign="top"|[[Bild:Enclosure_bottom.JPG|thumb|400px|left|The bottom half of the enclosure]] | ||
|- | |- | ||
| − | | valign="top"|[[Bild: | + | | valign="top"|[[Bild:Enclosure_full_assembled.JPG|thumb|400px|left|Fully assembled!]] |
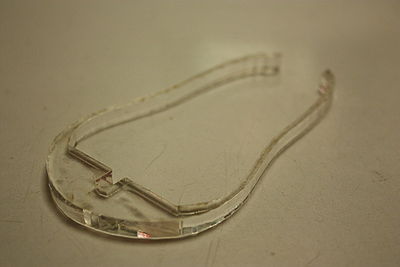
| − | | valign="top"|[[Bild: | + | | valign="top"|[[Bild:Enclosure_middlepart.JPG|thumb|400px|left|The middlepart is lazzored and the RGB led shines in there to change the color of the enclosure]] |
| + | |- | ||
| + | | valign="top"|[[Bild:Enclosure_middlepart_assy.JPG|thumb|400px|left|middlepart attched to the enclosure]] | ||
| + | | valign="top"|[[Bild:Enclosure_pcb_off.JPG|thumb|400px|left|connection on the bottom for the iButton, on/off switch + power]] | ||
| + | |- | ||
| + | | valign="top"|[[Bild:Enclosure_rgb_inlay.JPG|thumb|400px|left|bottompart + middlepart + pcb ]] | ||
| Zeile 27: | Zeile 45: | ||
| − | + | ||
| − | |||
| − | |||
* .stl files for 3d rpinting | * .stl files for 3d rpinting | ||
* . svg .cdr .ai files for the lazzzored part | * . svg .cdr .ai files for the lazzzored part | ||
Version vom 4. Mai 2011, 00:10 Uhr
< HSC2011
Some screenshots from Blender
Photos of the final enclosure
|
|
- .stl files for 3d rpinting
- . svg .cdr .ai files for the lazzzored part
