Wall of Peanuts: Unterschied zwischen den Versionen
MiKa (Diskussion | Beiträge) Vielleicht spielt ja wer mit.... |
MiKa (Diskussion | Beiträge) Keine Bearbeitungszusammenfassung |
||
| Zeile 12: | Zeile 12: | ||
[[Image:WallOfPeanutsPrvw1.png]]<br> | [[Image:WallOfPeanutsPrvw1.png]]<br> | ||
View from top: the top shutter is open, allowing a peanut to be loaded. | View from top: the top shutter is open, allowing a peanut to be loaded.<br> | ||
<br> | |||
<br> | |||
[[Image:WallOfPeanutsPrvw2.png]]<br> | [[Image:WallOfPeanutsPrvw2.png]]<br> | ||
Similar view like above, just a bit from the back. | Similar view like above, just a bit from the back.<br> | ||
<br> | |||
<br> | |||
[[Image:WallOfPeanutsPrvw3.png]]<br> | |||
The bottom barrel aligns with a hole in the backplate which is connected to a gas reservoir (e.g. Co2). The gas pressure blows the peanut through the barrel.<br> | |||
<br> | |||
<br> | |||
[[Image: | [[Image:WallOfPeanutsPrvw4.png]]<br> | ||
View from the bottom: the shutter of the bottom is closed to reduce loss of gas pressure.<br> | |||
<br> | |||
<br> | |||
[[Image:WallOfPeanutsPrvw5.png]] [[Image:WallOfPeanutsPrvw5a.png]]<br> | |||
The revolving barrel cage separately, ball bearings are green. The backplate can be removed for servicing the shutters (see detail on right). <br> | |||
<br> | |||
<br> | |||
[[Image: | [[Image:WallOfPeanutsPrvw6.png]]<br> | ||
The rest of the design: the shutter guide and its bracket, the threaded rod and hex nuts to hold everything together.<br> | |||
<br> | |||
<br> | |||
Version vom 23. Juli 2009, 03:23 Uhr
How about a Peanut-Gatling?
First design ideas for the revolving barrel cage:
Anyone cares to join? Contact: MiKa
The caliber is 8mm so it should be capable of propelling peanuts or dried peas through the barrels with compressed gas. The whole thing displayed here is roughly 13cm long.
(These are simple screenshots from Art of Illusion, I'm not really happy yet with my rendering skills.)
Bright blue parts belong to the revolving barrel cage, olive parts are the shutters for the barrels and dark blue are the fixed (non moving) parts.
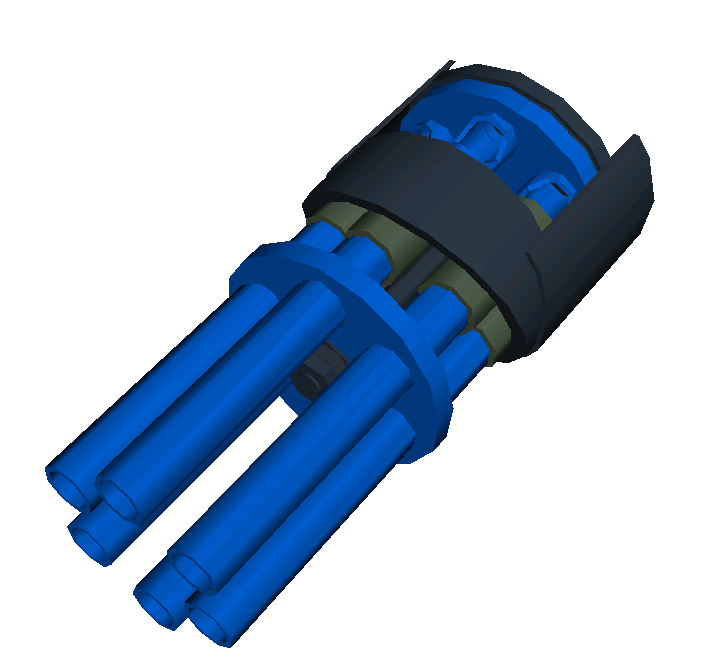
View from top: the top shutter is open, allowing a peanut to be loaded.
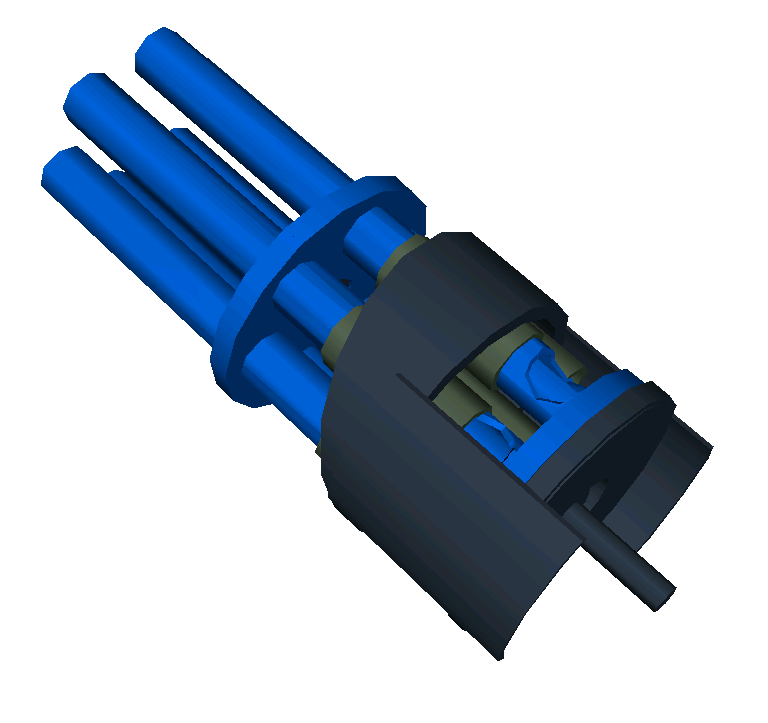
Similar view like above, just a bit from the back.
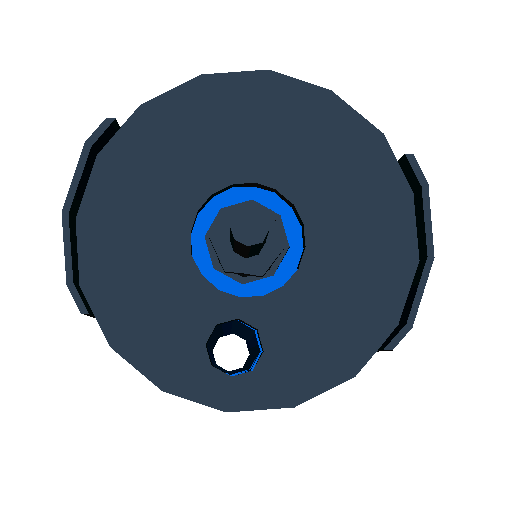
The bottom barrel aligns with a hole in the backplate which is connected to a gas reservoir (e.g. Co2). The gas pressure blows the peanut through the barrel.
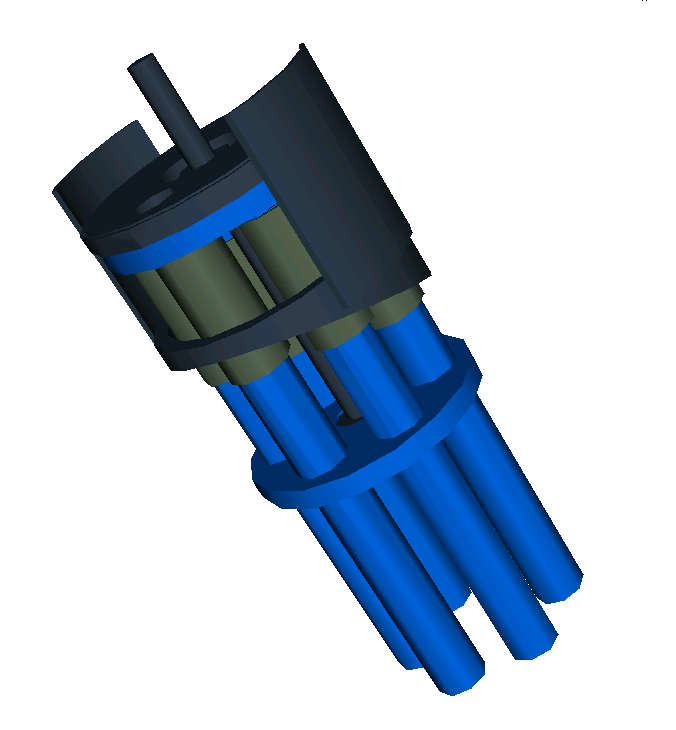
View from the bottom: the shutter of the bottom is closed to reduce loss of gas pressure.
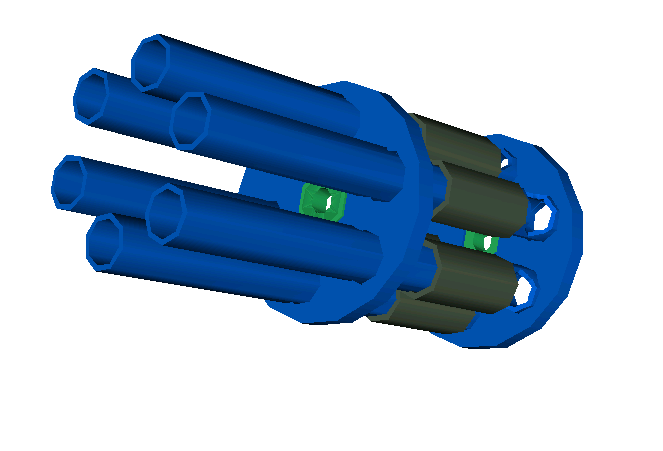
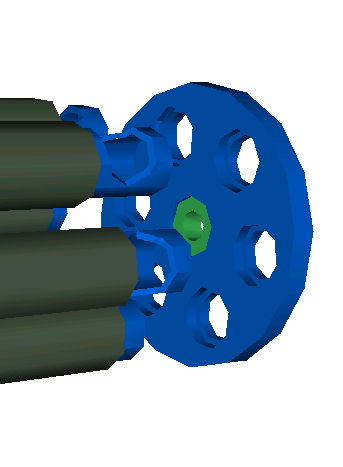
The revolving barrel cage separately, ball bearings are green. The backplate can be removed for servicing the shutters (see detail on right).
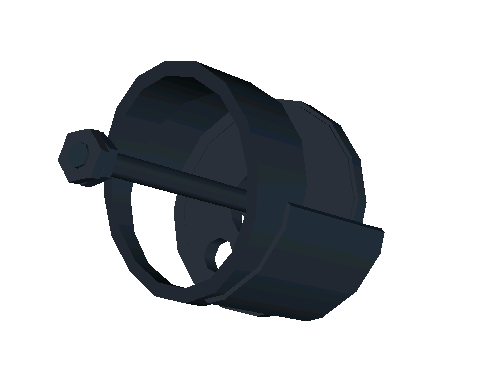
The rest of the design: the shutter guide and its bracket, the threaded rod and hex nuts to hold everything together.