HSC2011/Building your own EduBuzzer: Unterschied zwischen den Versionen
Chrysn (Diskussion | Beiträge) K even in a gallery, i want correct syntax |
Chrysn (Diskussion | Beiträge) K (added category, fake subpages) |
||
| Zeile 1: | Zeile 1: | ||
<small>Part of the [[HSC2011]] documentation</small> | |||
In order to build an EduBuzzer, you'll need | In order to build an EduBuzzer, you'll need | ||
| Zeile 11: | Zeile 13: | ||
Image:Atomic.svg| and a copy of the EduBuzzer software and hardware description from the [[HSC2011/Download instructions|project download page]]. | Image:Atomic.svg| and a copy of the EduBuzzer software and hardware description from the [[HSC2011/Download instructions|project download page]]. | ||
</gallery> | </gallery> | ||
[[Category:HSC2011]] | |||
Version vom 1. Mai 2011, 20:32 Uhr
Part of the HSC2011 documentation
In order to build an EduBuzzer, you'll need
-
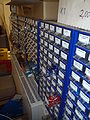 a bunch of electronic parts you can obtain from your supplier of choice,
 -
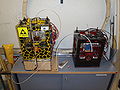
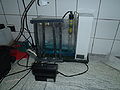 equipment for etching a two sided PCB (as an alternative, you can order it just as well -- we didn't etch ours),
 -
 a rapid prototyper (3D printer, e.g. a makerbot),
 -
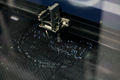 a lasercutter for cutting 5mm transparent acryl sheet (if unavailable, a rapid prototyper with transparent substrate will work as well),
 -
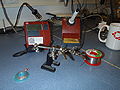 soldering equipment,
 -
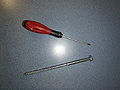 screws with driver (what made you guess our hardware design is not 100% finished in that part?),
 -
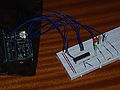 a programmer for AVR microcontrollers (any AVR microcontroller with a bootloader will do, especially an Arduino -- c.f. the Arduino ISP tutorial) with appropriate software, e.g. avrdude,
 -
 and a copy of the EduBuzzer software and hardware description from the project download page.


